Style Gallery
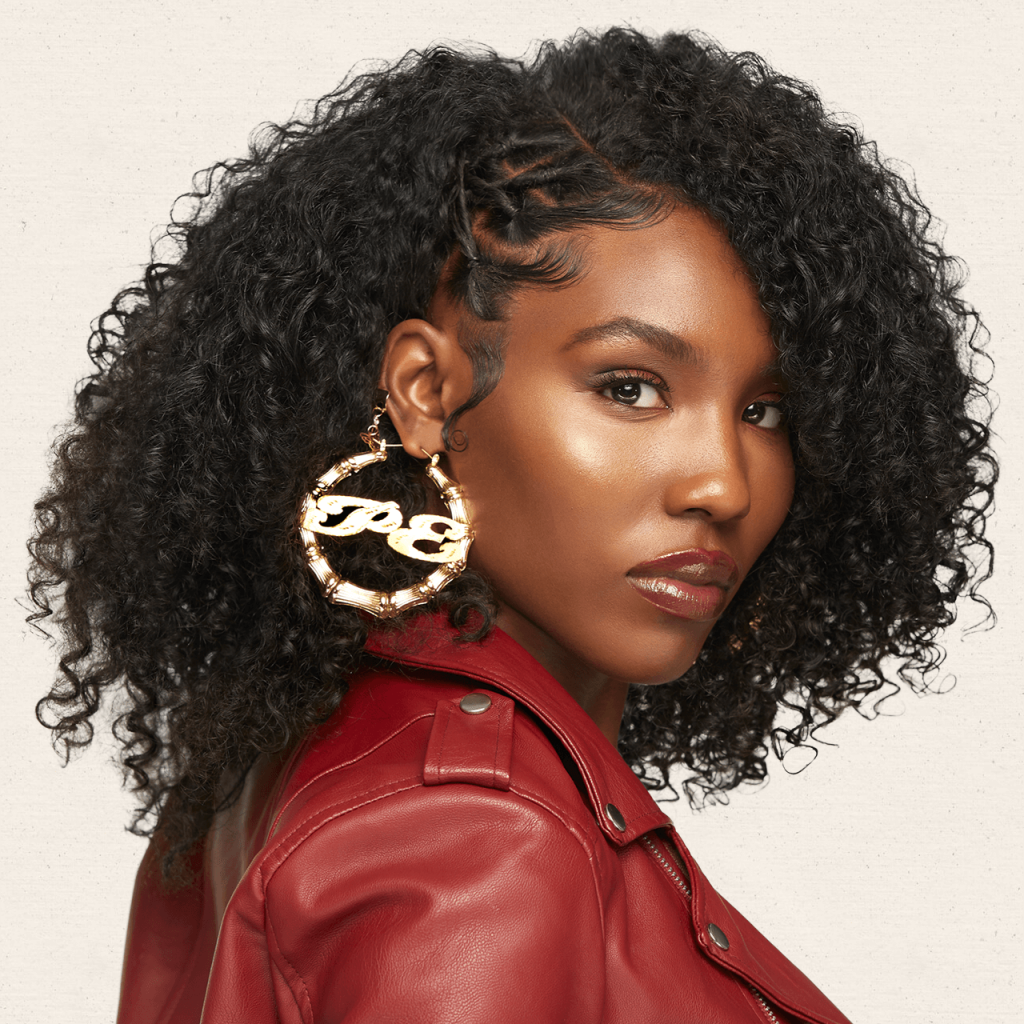
Side Swept Edges
Step 1
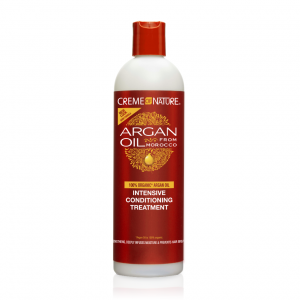
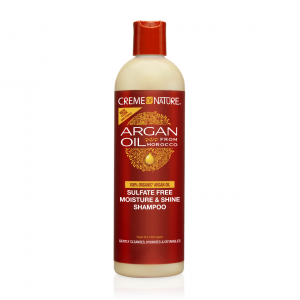
Start with wet hair. If you’re working with leftover curls, you certainly don’t need to wash your hair all over again. Shampoo hair using Sulfate-Free Moisture & Shine Shampoo and then conditioning with Intensive Conditioning Treatment.
Step 2
For this side swept style, a deep part works best. Part it on the opposite side that your hair will be going on. In other words, part it on the left side if your hair will go over your right shoulder, and vice versa. To get a perfectly straight part, use the pointed side of a rattail comb. Trace the part from front to back, pulling your hair to either side.
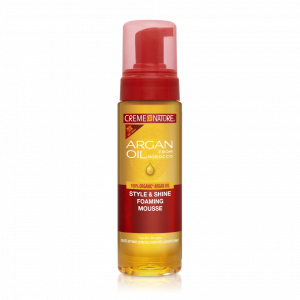
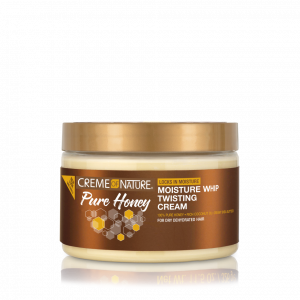
Step 3
Apply Moisture Whip Twisting Cream and Style & Shine Foaming Mousse to damp hair, then allow to dry.
Step 4
Once hair is dry, release the twists with your fingers.
Step 5
Keep brushing it in the direction you want it to go. Using a round brush or a paddle brush, continue sweeping your hair to one side.
Step 6
Bring your hair to one side. Pull your hair to the direction you desire. Use your fingers to comb it to one side, going over the shoulder opposite of your part.
Step 7
Bobby pin your hair in place. Once all of your hair is pulled to one side, use one hand to hold it taut. Carefully insert a bobby pin at the nape of your neck going upwards, holding the pulled hair to one side. Insert another bobby pin directly above the first, again going straight up. Add as many bobby pins as you need in order to hold all of your hair in place, going to the side. They should form a vertical line going halfway up the back of your head.
Step 8
Cover the bobby pins with hair. Grab a section of hair from the top of your head above the bobby pins. Use your fingers or a brush to gently comb the hair and smooth it out. Bring this section down so that it conceals the line of bobby pins you just created
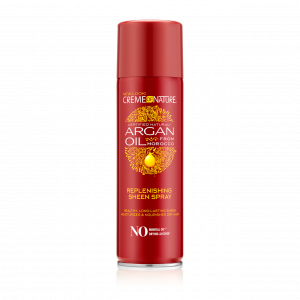
Step 9
Secure the style with Replenishing Sheen Spray. After you’ve added all of your bobby pins, move your head around a bit. Double check that everything feels secure.
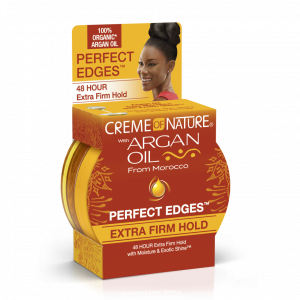
Step 10
Lay those edges with an edge brush using Perfect Edges™ Extra Firm Hold for definition and hold that lasts.
Products Used